Grouting is the step that brings a tile installation together visually, and also the step most prone to mistakes that are difficult to correct after the fact. Grout applied too soon lifts tiles from uncured thinset. Grout left on the tile surface too long hazes over and requires significant effort to remove. Joints packed incompletely look hollow and fail prematurely. Getting the technique, timing, and cleanup right is entirely achievable with the right preparation and knowledge.
This guide covers everything you need to apply grout successfully, from verifying the thinset has cured to finishing off the final haze, with attention to the specific conditions in San Diego and Southern California where warm, dry weather affects working times significantly.
Before You Grout: Critical Preparation Steps
Never rush into grouting. Two preparation steps are non-negotiable before mixing any grout:
1. Verify thinset cure time. The standard minimum wait is 24 hours after setting tile before grouting. In Southern California's warm climate, thinset often skins over quickly but takes longer to develop full internal strength. For polymer-modified thinsets, particularly those used for large-format or natural stone tile, 48 to 72 hours is a safer interval. Test by pressing firmly on a tile corner: it should not flex or move at all. If any tile shifts under pressure, wait longer.
2. Remove all tile spacers and clean the joints. Pull spacers out with needle-nose pliers before the thinset fully hardens (ideally 30 to 60 minutes after setting each section). Any spacer left in a joint prevents grout from fully filling the space and will eventually crack the grout above it. Use a grout saw, oscillating tool, or the tip of a utility knife to clean out any thinset that squeezed up into the joint during setting: grout joints should be clear to a depth equal to two-thirds of the tile thickness for proper grout fill and bond.
Key fact: The ANSI A108.10 standard for grout installation specifies that joints must be clear of all thinset and debris for at least two-thirds of the tile thickness before grouting. Joints that are partially filled with dried thinset will not hold enough grout to form a strong, complete joint, and the shallow grout layer will crack under normal foot traffic or thermal cycling.
Choosing and Mixing Grout
Select the correct grout type for your joint width:
- Unsanded grout: joints smaller than 1/8 inch. Smooth texture, safe for polished stone and glass tile surfaces that sanded grout would scratch.
- Sanded grout: joints 1/8 inch and wider. The sand aggregate adds body, reduces shrinkage, and improves strength in wider joints. The most common grout type in residential tile work.
- Fine sanded grout: joints between 1/8 and 3/8 inch, particularly for polished surfaces where standard sanded grout scratches, the fine sand is gentler than coarse-grit standard sanded grout.
- Epoxy grout: joint width flexible (1/16 inch and up, depending on product). Two-part system requiring more careful mixing but offering superior stain resistance. Always read the manufacturer's data sheet for the specific open time, epoxy grout sets faster than cement grout, especially in warm weather.
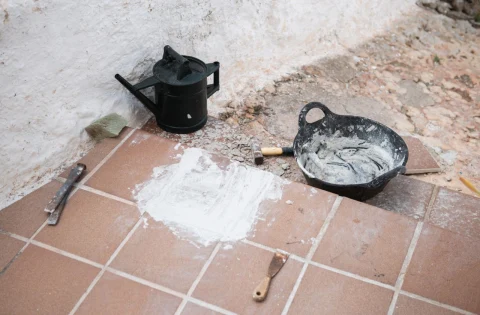
Mix cement-based grout to a thick peanut butter consistency: smooth, lump-free, and stiff enough to hold its shape on a trowel without slumping. Add water incrementally and mix thoroughly for a minimum of 3 minutes with a margin trowel or a drill with a paddle mixer. Then slake (rest) the grout for 5 to 10 minutes to allow the polymers to fully hydrate, then re-mix briefly before use. Never add more water after slaking: this weakens the grout significantly.
Batch Size and Working Time
In San Diego's warm climate, especially in summer when indoor temperatures in non-air-conditioned spaces can reach 80-90°F, standard sanded grout may have a working time of only 20 to 30 minutes before it begins to stiffen noticeably. Mix only what you can use in 20 minutes: typically 3 to 5 square feet for beginners, up to 15 to 20 square feet for experienced workers.
The Application Technique
Use a hard rubber grout float: the stiff, black-rubber flat tool specifically designed for this purpose. A soft rubber float used for glass mosaic work, or a foam float, does not pack the grout firmly enough into joints for standard ceramic or porcelain tile work.
Step 1: Load the float. Scoop grout onto the float with a margin trowel. You want a generous amount: the float should be well-loaded, not just barely coated.
Step 2: Work diagonally. Hold the float at a 45-degree angle to the tile surface and push it diagonally across the joints, never parallel to a joint. Diagonal strokes pack grout into joints more effectively and prevent the leading edge of the float from scooping grout back out. Work in all diagonal directions: upper-left to lower-right, then upper-right to lower-left.
Step 3: Scrape the surface. After packing an area of 4 to 6 square feet, tilt the float to near-perpendicular (60 to 70 degrees) and make firm scraping passes to remove excess grout from the tile faces. The joints should be full and slightly proud of the tile surface; the tile faces should have as little grout on them as possible.
Step 4: Repeat for adjacent sections. Work in manageable sections. Do not let grouted sections dry longer than 20 to 30 minutes before beginning the cleanup phase.
Pro tip: On vertical surfaces (shower walls, kitchen backsplashes), keep grout slightly stiffer than you would for a floor: a grout that is too wet on walls will slump out of joints before it sets. Some installers add just slightly less water to the mix for vertical applications in warm weather. If grout is slumping from vertical joints, let the mixed batch sit for 5 minutes and re-mix briefly before continuing.
Timing the Cleanup: The Critical Window
This is where most grouting mistakes happen. The cleanup window is:
- Too early: you pull grout out of joints along with the surface film, leaving hollow or uneven joints
- Too late: grout haze hardens on the tile faces and requires significant effort (haze remover chemicals or mechanical scrubbing) to remove
Wait until the grout in the joints has firmened to a thumbprint-firm consistency: you can press a fingertip into a joint and it leaves a slight impression but does not smear significantly. In San Diego's summer conditions (80°F+, low humidity), this typically takes 10 to 20 minutes from application. In cooler or more humid conditions, it takes longer.
The Sponge Wipe Technique
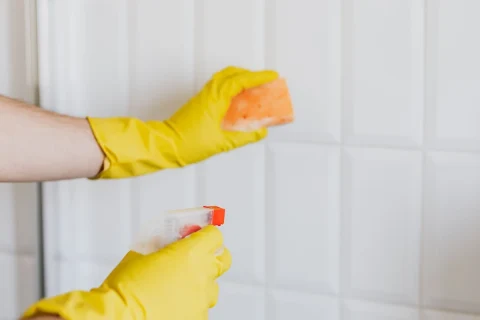
Use a large, dense grout sponge and two buckets of clean water. Wet the sponge, wring it out until it is barely damp: damp, not wet. A too-wet sponge will pull grout from joints and dilute the color.
- First wipe: use the flat face of the sponge in circular or diagonal motions (not parallel to grout joints). Light pressure. This removes the bulk of the grout film.
- Rinse the sponge in bucket #1, wring thoroughly, rinse again in bucket #2.
- Second wipe: same technique, lighter pressure. This removes most of the remaining haze.
- After cleaning 4 to 6 square feet, empty and replace both buckets of water. Grouting with dirty water redeposits minerals and grout particles on the tile surface.
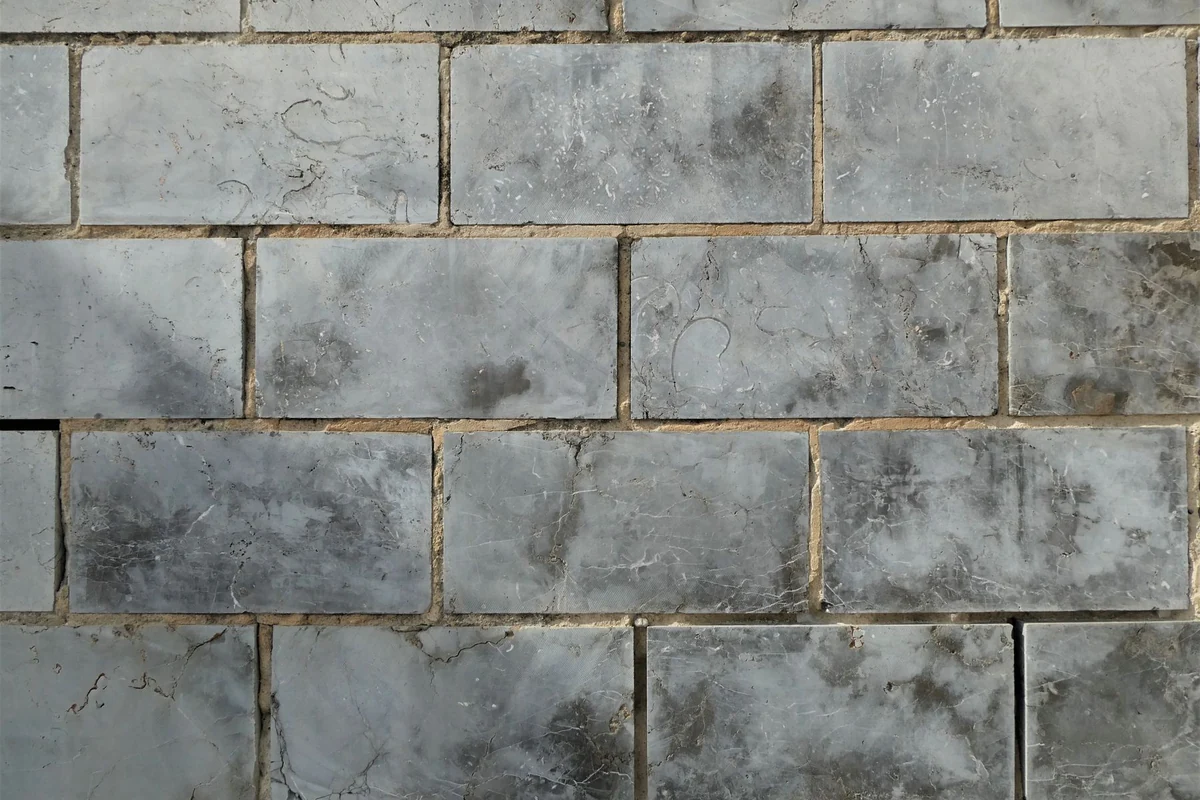
After the second wipe, check the grout joints: they should be full, slightly concave (the wipe naturally creates a slight hollow in the center of the joint), and smooth. Any joint that looks hollow, cracked, or pitted needs to be packed with additional grout immediately.
Removing the Final Haze
After the cleanup wipes, a thin haze of grout minerals will remain on the tile. Allow this to dry for 30 to 60 minutes, then buff it off with a dry microfiber cloth. For most ceramic and porcelain tile, this is all that is needed.
If a stubborn white haze remains after buffing, use a pH-neutral tile and grout haze remover (such as Aqua Mix Cement Grout Haze Remover or equivalent). Apply per the label, scrub with a nylon brush, and rinse thoroughly. For natural stone tile, use only pH-neutral cleaners: acidic haze removers will etch polished marble, limestone, and travertine surfaces.
Curing Time Before Use
Standard cement-based grout requires a minimum of 24 hours before foot traffic on floors and 72 hours before water exposure on shower or wet area installations. Full cure for Portland cement grout is 28 days. During this period, avoid harsh cleaners or heavy scrubbing. Epoxy grout cures chemically rather than by drying and is typically ready for foot traffic in 12 to 24 hours depending on product and temperature.
Summary: Grouting Done Right
Successful grout application comes down to three things: waiting for the thinset to fully cure before grouting, mixing grout to the right consistency and working in small batches appropriate for your climate, and timing the cleanup correctly, not too early, not too late. In Southern California's warm climate, move faster than you think you need to. Grouting in a hot garage or an un-air-conditioned room in summer requires shorter batches and quicker cleanup than the bag instructions suggest. Follow these fundamentals and the result will be evenly filled, color-consistent grout joints that enhance the finished tile installation rather than detracting from it.