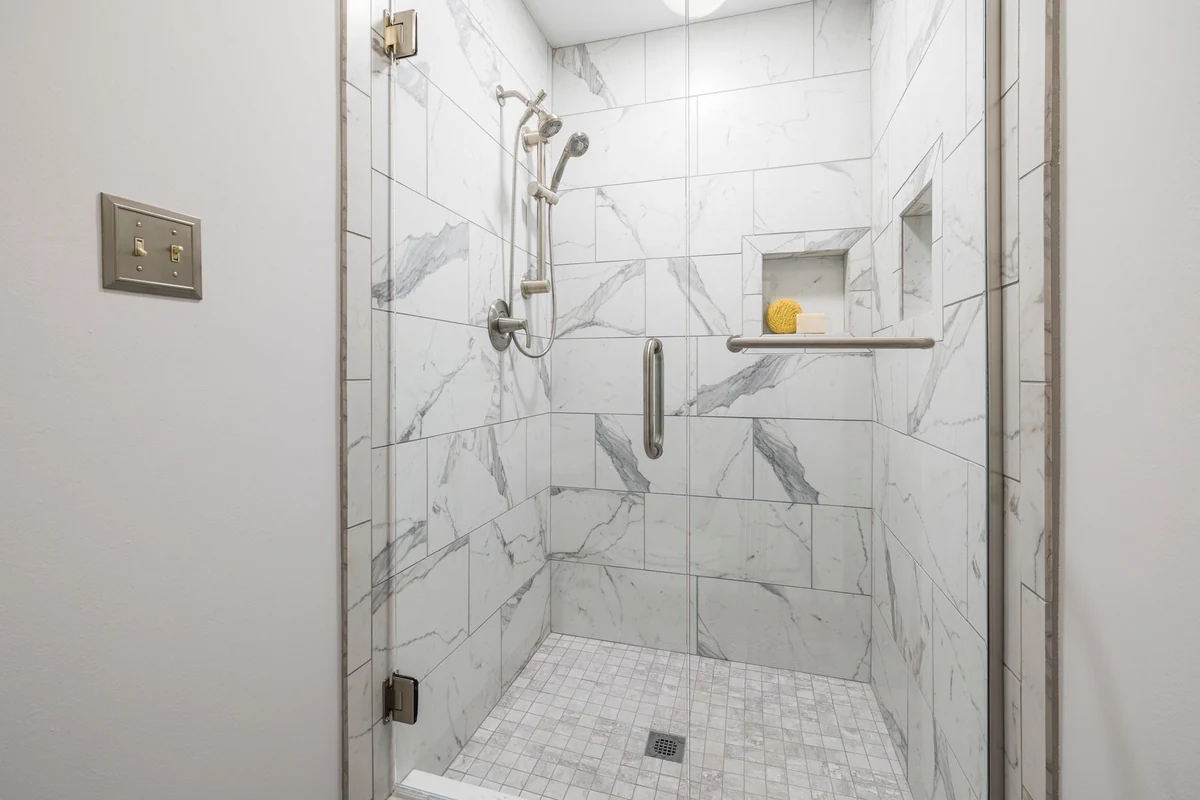
Wall tile installation is one of the most transformative upgrades a homeowner can make, a tiled bathroom wall, kitchen backsplash, or accent wall adds both beauty and lasting value to a home. But unlike flooring, wall tile installation is unforgiving in one critical way: gravity is working against you the entire time. Tiles must bond securely to a properly prepared substrate and stay put while the mortar cures.
This step-by-step guide covers everything from substrate selection and layout through setting, grouting, and finishing, with practical advice for homeowners and contractors working in San Diego and Southern California's warm, dry climate.
Step 1: Choose and Prepare Your Substrate
The substrate is what your tile bonds to, and it determines whether your installation lasts 5 years or 50. The right substrate depends on where the wall is located.
Dry areas (kitchens, living rooms, accent walls with no moisture exposure): standard drywall is acceptable if it is in good condition, flat, and properly fastened. Remove any existing paint or wallcovering that could compromise adhesion, tile thinset will not bond reliably to glossy or peeling paint.
Wet areas (bathrooms, laundry rooms, areas subject to splashing): drywall must be replaced with cement backer board (HardieBacker, Durock, or equivalent) or a waterproof foam panel (Schluter KERDI-BOARD, Wedi). Standard drywall, even moisture-resistant "green board", is not waterproof and will eventually fail behind tile in wet areas.
Installing cement backer board: secure panels to studs with corrosion-resistant screws every 8 inches along edges and every 12 inches in the field. Tape all joints and corners with alkali-resistant mesh tape and thinset. Allow to dry before tiling.
Key fact: The TCNA (Tile Council of North America) Handbook, the industry standard reference for tile installation, explicitly states that standard gypsum drywall (including moisture-resistant variants) is not suitable as a substrate in continuously wet areas such as showers. Using drywall behind shower tile is one of the leading causes of tile failure and mold growth in residential bathrooms.
Checking Flatness
Wall substrates must be flat to within 1/8 inch over a 10-foot span (or 1/16 inch over 2 feet) for standard tile. For large-format tiles (12 inches or greater in any dimension), the tolerance is tighter: 1/8 inch over 10 feet. Use a long level or straightedge to identify high and low spots. Fill low areas with thinset or wall joint compound; grind or sand high spots. This step is especially important in older San Diego homes where walls may have settled unevenly over decades.
Step 2: Plan Your Layout
Never start tiling from a corner: corners are rarely perfectly square, and starting there guarantees that any out-of-square will compound across the entire installation. Instead, find the visual center of the focal wall and work outward symmetrically.
Use a long level to draw a perfectly plumb vertical centerline on the wall. From this centerline, dry-lay (without mortar) a row of tiles in both directions to see how the layout will land at the corners and edges. The goal is to have cut tiles of equal size on both sides of the centerline. If your layout leaves a sliver of less than half a tile on one side, shift your centerline by half a tile width to even out the cuts.
Also establish a horizontal reference line. Measure up from the floor to the height of one tile plus one grout joint, snap a level chalk line, and temporarily nail a straight horizontal ledger board along that line. Your first row of tile rests on this ledger, ensuring the entire installation starts perfectly level. You will fill in the bottom cut row after the field tile is set and mortar has cured.
Step 3: Mix and Apply Thinset Mortar
For most wall tile installations, use a medium-bed or wall-formula polymer-modified thinset. Standard floor thinset is too fluid for vertical surfaces, wall thinset has higher viscosity and non-sag properties that prevent tiles from sliding before the mortar sets. Mix to a peanut butter consistency: it should hold a notch ridge without slumping when you set the trowel down.
Apply thinset to the wall using the back-troweling method: spread thinset on the wall with the flat side of the trowel, then comb it with the notched side to create even ridges. For wall tiles under 8 inches, a 3/16 inch V-notch or square-notch trowel is standard. For tiles 12 inches or larger, use a 1/4 x 3/8 inch square-notch trowel.
Additionally, back-butter each tile: apply a thin skim coat of thinset to the back of the tile with the flat side of the trowel. This is especially important in Southern California's warm climate, where thinset can skin over quickly before tiles are pressed into place. Back-buttering ensures you get the ANSI A108-required 80% mortar coverage in dry areas and 95% in wet areas.
Pro tip: In San Diego's warm, dry interior areas where temperatures can reach 80-90°F in summer, thinset open time (the window between application and when it skins over) can drop to as little as 10-15 minutes. Work in small sections of 4-6 square feet maximum, especially if the space has air conditioning running. If the thinset starts to feel tacky or dry before you set the tile, scrape it off and apply fresh: bonding tile to skinned thinset is one of the most common causes of tile failure.
Step 4: Set the Tiles
Press each tile firmly into the thinset with a slight twisting motion, then use tile spacers to maintain consistent joint width. Check level and plumb frequently, every 3 to 4 tiles vertically and horizontally. Do not trust your eye alone; walls that look straight often have subtle variations that only a level reveals.
Periodically pull a tile back to verify coverage. The back of the tile should show mortar covering at least 80% of the surface in a dry area, or 95% in a shower or wet area. If you see voids, apply more thinset to the wall and back-butter the tile more generously.
Cutting Wall Tiles
Straight cuts along edges are made with a wet tile saw or manual snap cutter. For notches around outlets, use a angle grinder with a diamond blade or a rotary tool with a tile-cutting attachment. Always cut tiles with safety glasses and a dust mask: ceramic and porcelain dust is a respiratory hazard. Wet saws produce slurry rather than airborne dust, which is safer and produces cleaner cuts.
Step 5: Allow to Cure and Remove Spacers
Allow the thinset to cure for a minimum of 24 hours before grouting. Do not apply weight or pressure to the wall during this time. Remove tile spacers after about 30 to 60 minutes (before the thinset fully hardens) by pulling them straight out with needle-nose pliers or a small flathead screwdriver. If you wait too long, spacers embedded in thinset can be difficult to remove and will prevent grout from fully filling the joint.
Step 6: Grout the Wall
Mix unsanded grout for joints under 1/8 inch, sanded grout for joints 1/8 inch and wider. Mix to a thick, smooth consistency and apply with a hard rubber grout float, working diagonally across the joints to pack them fully. Hold the float at a 45-degree angle to force grout into joints, then tilt it almost perpendicular to scrape off the surface excess.
Wait 15 to 20 minutes, then wipe the wall with a barely damp sponge in circular motions, rinsing frequently. A second wipe 10 minutes later removes the initial haze. Buff with a dry cloth. Cure grout for 72 hours before exposing to water.
Step 7: Caulk Corners and Changes of Plane
Every corner, inside (where two tile walls meet) and outside (an exposed tile edge), and every change of plane (where the tile wall meets the floor, tub, or countertop) must be caulked, not grouted. These are movement joints. Grout is rigid and will crack at corners and plane changes as the building moves seasonally. Use a color-matched, siliconized acrylic or 100% silicone caulk. Apply in one continuous bead, smooth with a wet finger, and allow to cure fully.
Summary: Professional Wall Tile Installation in San Diego
Successful wall tile installation follows a logical progression: correct substrate for the location, level layout lines established before any mortar is spread, proper thinset type and coverage, clean cuts, thorough grouting, and caulk at every movement joint. Skipping or rushing any of these steps is the source of nearly every wall tile failure, lippage, cracking, moisture intrusion, and loose tiles.
For homeowners in San Diego and Southern California, the region's warm climate makes thinset management especially important. Work in smaller sections, keep your mortar shaded from direct sun when working outdoors, and never try to re-temper (add water to) thinset that has begun to stiffen. When these fundamentals are followed, a wall tile installation will remain flat, secure, and beautiful for decades.