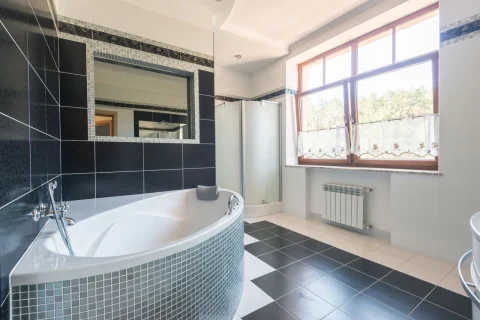
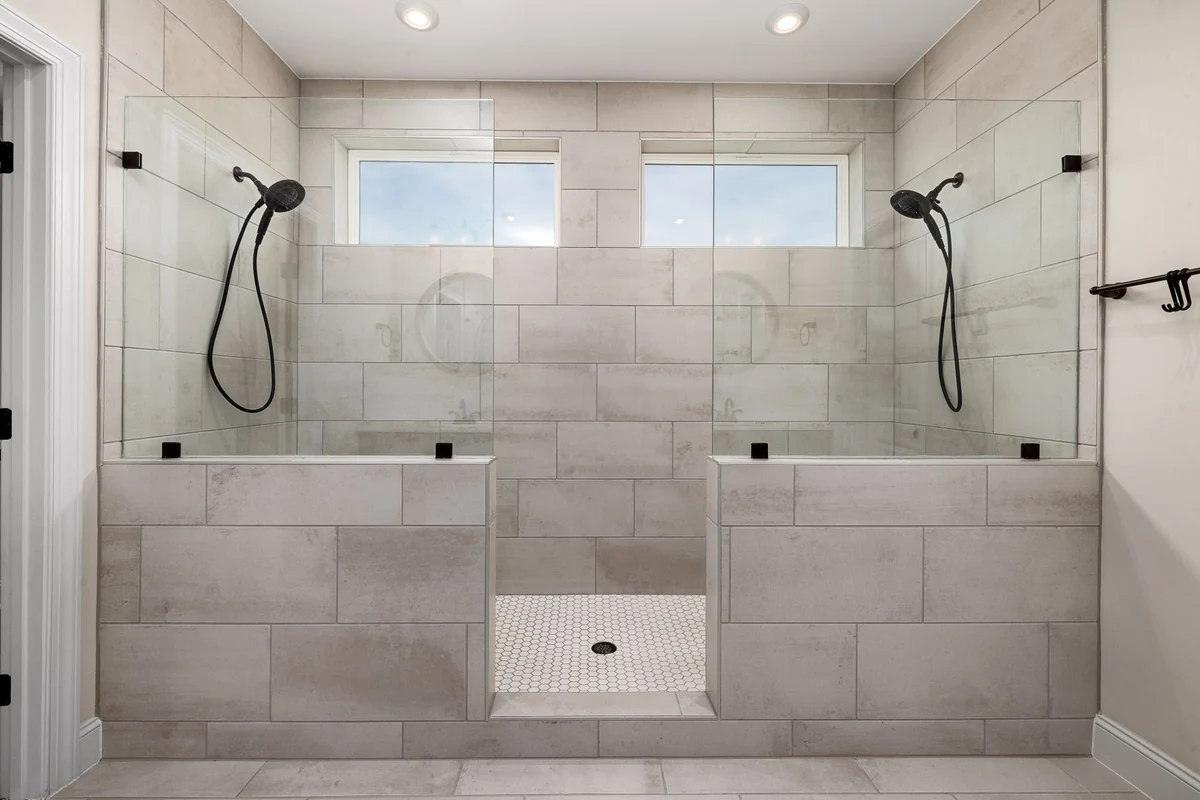
A fully tiled shower, floor to ceiling on all three walls, is one of the most durable, hygienic, and visually impressive bathroom features you can install. When done correctly, it functions as a sealed wet room that will outlast every other element in the bathroom. When done incorrectly, it becomes an expensive source of water damage, mold, and grout failure hidden behind beautiful tile.
This guide walks through the complete process of tiling a shower from floor to ceiling, with particular attention to the waterproofing and substrate decisions that determine whether your installation succeeds long-term. This is critical knowledge for homeowners in San Diego and throughout Southern California, where older homes frequently have failing shower tile from original installations done without modern waterproofing standards.
Phase 1: Planning and Preparation
Before any tile or mortar is ordered, you need answers to four questions: What is the shower footprint and height? What tile are you using on walls vs. the floor? What waterproofing system will you use? And is the existing plumbing in the right location for your design?
Shower floor tile must have a DCOF (Dynamic Coefficient of Friction) of 0.42 or higher per ANSI A137.1. This is the wet slip resistance standard. Large-format tiles (anything bigger than 12x12 inches) are difficult to install correctly on a shower floor because they require more pitch adjustment on the mortar bed. Most professional tile setters recommend 4x4 to 6x6 inch floor tiles or mosaic sheets for shower floors: the more grout joints, the more grip and the easier it is to achieve the required pitch toward the drain.
Wall tile has no wet slip requirement: you can use almost any size or finish. Large-format rectified porcelain (12x24 or 24x24 inches) creates a modern, minimal look with few grout lines to clean, which is why it dominates San Diego's current bathroom remodel market. Smaller subway tiles (3x6 or 4x8 inches) are easier to install on walls and more forgiving of minor substrate irregularities.
Phase 2: Removing the Old Shower and Framing
Existing shower surrounds (whether old tile over drywall, fiberglass inserts, or acrylic panels) must be fully removed before building a new tiled shower. Never tile over an old fiberglass or acrylic shower insert. Never tile over existing wall tile unless you have verified the substrate behind it is sound and waterproof (almost impossible to guarantee without inspection).
After demo, inspect the framing. Studs in the shower area should be 16 inches on center. If they are 24 inches on center, you may need to add blocking to achieve the rigidity required for tile. Any water-damaged framing must be replaced. Do not tile over soft, punky wood. In San Diego's older Craftsman bungalows and mid-century homes, it is common to find rot in shower framing from decades of inadequate waterproofing.
Key fact: California's Title 24 energy code does not directly regulate shower tile installation, but California's plumbing code (based on the Uniform Plumbing Code) requires that shower pans be tested for watertightness before covering, meaning the waterproofing layer must be inspected and approved before the tile goes over it. If you are pulling a permit for your bathroom renovation, do not cover the shower floor waterproofing until it has been inspected.
Phase 3: Waterproofing the Shower
This is the most important phase of the entire project. Tile is not waterproof. Grout is not waterproof. The waterproofing layer lives behind and beneath the tile, and it must be completely continuous with no gaps, pinholes, or unbridged transitions. There are three main systems used in professional tile installation today:
- Schluter KERDI: a polyethylene sheet membrane bonded to fabric on both sides for thinset adhesion. Installed over cement board or directly to studs with the KERDI-BOARD foam panel system. Creates a fully bonded, continuous waterproof barrier. Industry-leading system for professional shower builds.
- Wedi board: foam panels with an integrated waterproof surface. The panel itself is both the substrate and the waterproof layer. Cuts with a utility knife, no cement board required. Fast installation. Wedi seams must be taped and sealed with Wedi sealant.
- Liquid-applied membranes (RedGard, HydroBan): brush or roll on over cement backer board. Cure to a waterproof rubber-like coating. Require multiple coats and careful attention at corners and seams. Less expensive than sheet membranes but require more skill to apply without pinholes.
For the shower floor, the mortar bed (mud bed) must be sloped a minimum of 1/4 inch per foot toward the drain. This is non-negotiable: without proper pitch, water pools on the floor and migrates through grout joints over time. Pre-sloped foam shower pans (Schluter KERDI-SHOWER, Wedi shower elements) make achieving the right pitch much easier than hand-floating a traditional mud bed.
Pro tip: In San Diego homes, the most common cause of shower tile failure we see is the absence of any waterproofing membrane combined with only "moisture-resistant" drywall (green board) behind the tile. Green board slows moisture absorption but is not waterproof. Over time, water vapor migrates through grout joints, saturates the drywall, and causes mold and framing rot that does not become visible until major damage has already occurred. If your shower remodel budget is tight, do not cut corners on waterproofing: this is the one phase where cutting costs guarantees future expense.
Phase 4: Establishing Layout Lines
With waterproofing complete and cured, establish your tile layout before mixing any mortar. The goal for a floor-to-ceiling shower is to have the grout joints on all three walls align with each other visually at the corners, and to have the horizontal joints on the walls align with the top surface of the shower floor tile at the bottom.
Start with the back (most visible) wall. Find the center of the wall horizontally. Measure from the shower floor tile surface up to the ceiling and divide by your tile height to determine the layout. If the top cut and bottom cut will be similar in size, you have a good layout. If the top cut will be less than 2 inches, shift your starting height by half a tile so the cut rows are more equal.
Use a level to draw a horizontal reference line at the height of your first full tile row above the floor. Snap vertical centerlines as well. Having these reference lines established before you start setting tile is the difference between a shower that looks professionally installed and one that looks like a DIY project.
Phase 5: Setting Wall Tile
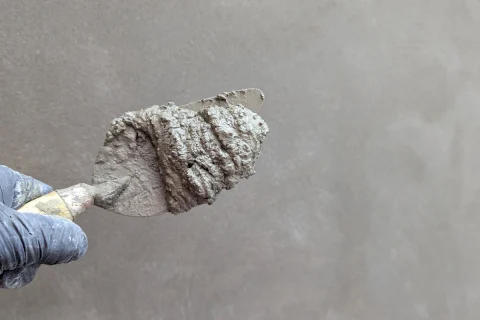
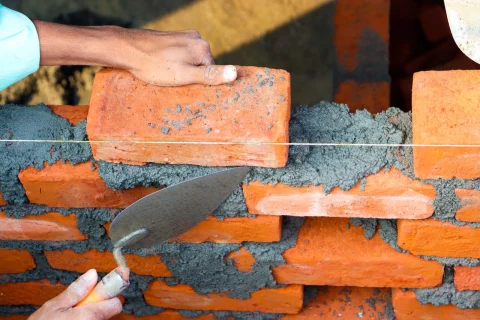
Use a polymer-modified thinset rated for wet area use. For large-format porcelain wall tile (12x24 or larger), use a medium-bed thinset to allow some adjustment for substrate irregularities without adding excessive weight. Apply thinset to the wall and back-butter each tile for 95% minimum coverage in the wet shower environment.
Set wall tiles from the reference line upward first, completing all three walls to the ceiling. Then fill in the bottom cut row after the field tile has cured. This prevents the uncured weight of the full wall from causing the bottom tiles to slide or settle before the mortar grabs.
Niche Installation
Shower niches must be waterproofed independently: they are essentially small horizontal shelves that collect water and direct it at the wall structure if not properly sealed. Use a prefab waterproof niche (Schluter KERDI-NICHE, Wedi niche) or build a custom niche with a front face that slopes slightly downward to drain, then waterproof the interior completely before tiling.
Phase 6: Setting the Shower Floor Tile
Install shower floor tile last, after all wall tile is set and cured. Set the drain first, making sure the drain height is correct for the thickness of your tile and thinset. Use a skim-coat of thinset over the pre-sloped base and back-butter each floor tile. Check pitch constantly with a level: every tile must continue to slope toward the drain.
For mosaic floor sheets, press firmly and use a beating block to ensure full mortar contact across the entire sheet. Check each sheet for any edge tiles that are not firmly bonded: mosaic corners are the most prone to lifting on pitched surfaces.
Phase 7: Grouting and Caulking
Allow the floor thinset to cure for 48 hours before grouting the floor (the weight of working on your knees can disturb floor tiles before the mortar fully sets). Grout walls first, then floor.
Use epoxy grout or a polymer-modified sanded grout rated for wet area use. Standard Portland cement grout is porous and will stain over time in a shower. Epoxy grout is the most stain and moisture resistant option and is especially recommended for the shower floor.
Caulk all inside corners, the floor-to-wall joint, and the perimeter of the shower floor at the base with a flexible, mold-resistant silicone caulk in a color matching the grout. These are all movement joints that will crack if grouted. Silicone caulk accommodates the slight seasonal movement in the structure without opening up.
Summary: A Shower Built to Last
Tiling a shower from floor to ceiling is a complex, multi-phase project where each phase depends on the previous one being done correctly. The phases that matter most, the ones that determine whether the shower lasts 5 years or 50, are waterproofing and substrate preparation. Tile and grout selection matter, but a beautiful tile set over a failed waterproofing system will fail just as certainly as a cheap tile set correctly.
For homeowners in San Diego and Southern California undertaking a shower tile project, hiring a licensed tile contractor with specific experience in waterproofed shower builds is strongly recommended for any floor-to-ceiling installation. Ask to see photos of their substrate and waterproofing work, not just the finished tile, before hiring. A contractor confident in their process will have those photos readily available.